The Last Piece Is Always the Most Fun

If you’ve ever done a jigsaw puzzle, you know how frustrating it is to get to the last piece…and you can’t find it anywhere. This is the same frustration a customer feels when they don’t have the full picture of what is to be included in their construction project.
Giving the customer a complete and thorough proposal gives them the full picture.
Doing puzzles growing up I remember when getting near the end of a puzzle the level of excitement would begin to amp up. In the accelerated push to get it finished more people would get involved, in the rush, often a piece would get lost. Finding the missing piece and putting it in made the picture complete.
There’s a real sense of accomplishment when the last piece of the puzzle is put in place.
It’s the same finishing a proposal…the final piece is now in place. The hard work of gathering the info, preparing the Scope of Work, and pricing are done. All that’s left is putting them together to provide a clear picture for the customer.
Jane Smith’s laundry/sewing room project.
Start with the Proposal template.
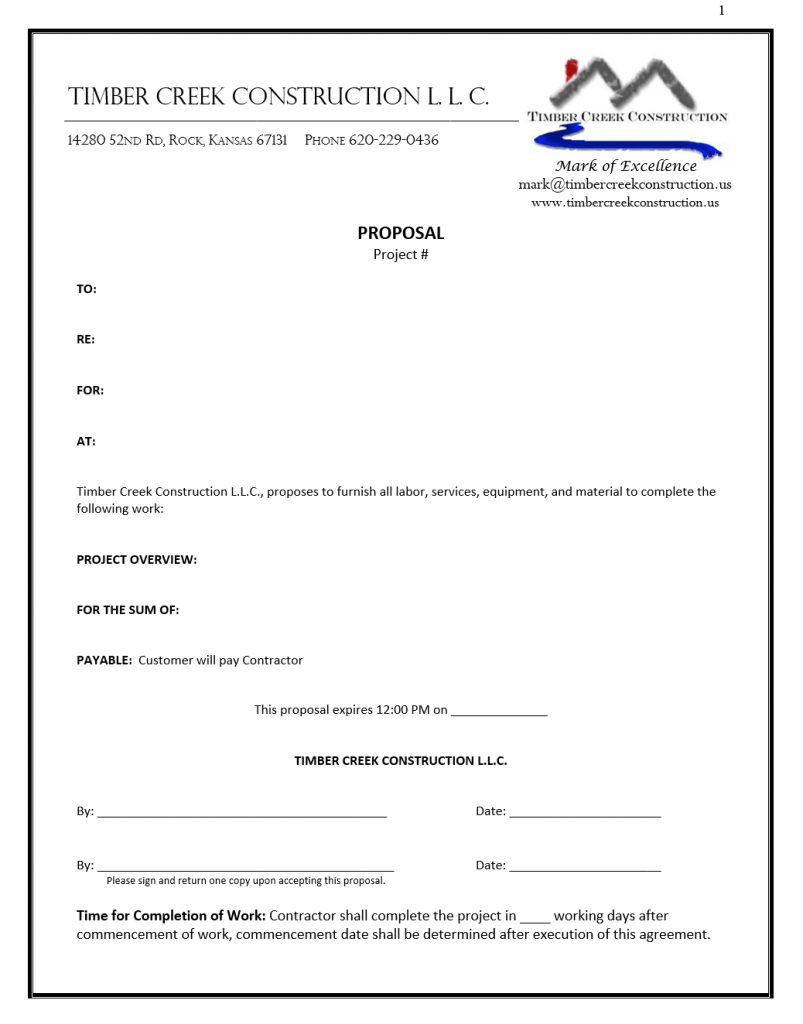
Insert the customer information in the open areas at the top of the first page as it pertains to the project.
To: This is the name of the person who requested the proposal or is responsible for the project organization.
Re: This is a name describing this specific construction project.
For: This is the party or organization for who the project is going to be done for.
At: This is the address of where the construction project is going to be performed.
Copy and paste the description of the work to be performed and material to be supplied from the Bid Sheet on to the Proposal template. (See below)

Next, take the prices from the Worksheet for each individual described action on the Proposal and place it on the right side of the page. At the end of each section put the total price for that section. (See below)
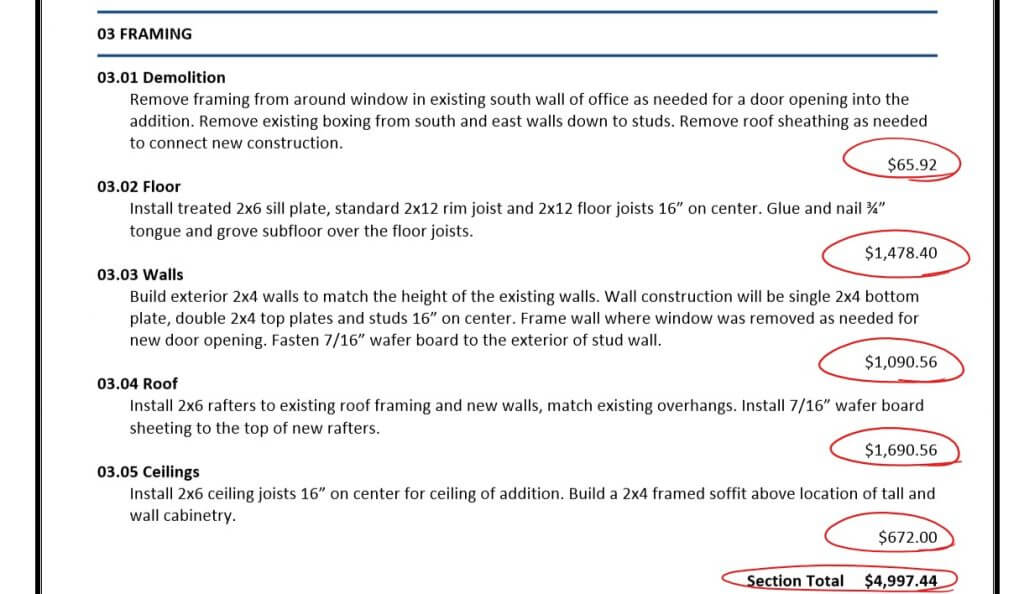
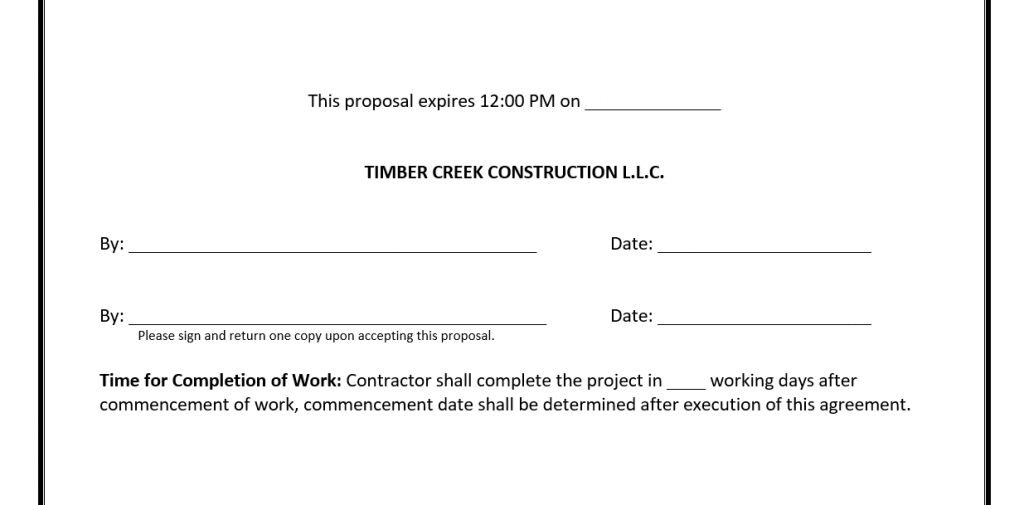
Now that the description of the work to be performed, the materials to be used, the prices for each action and the totals of each section have been placed on the Proposal template, it’s time for the project to be totaled. Complete the Proposal by defining the payment schedule, determining the date in which the Proposal will expire and the duration of time to complete the project. The only thing left is signing of the document.
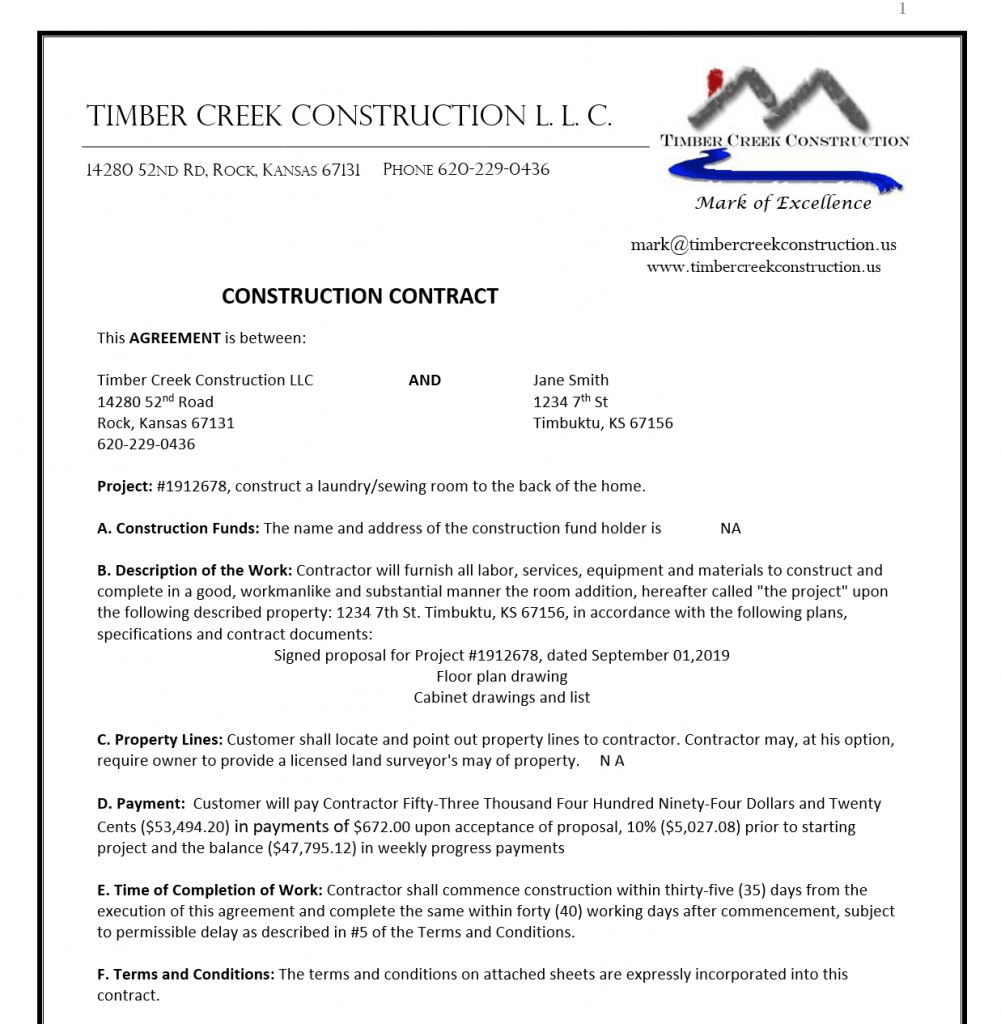
Once the proposal is signed, I recommend following up with a Contract. Even though the signed Proposal serves as a legal and binding document, there is nothing in the Proposal about when the project will be started. The Contract also includes more detailed customer information, a list of any referenced documents, a place for construction funding information, property specifics and legal terms and conditions.
We’ll look at a Contract in the next post.
If you’ve found this series on the “Blueprint for Building a Better Proposal” helpful and you or someone you know would be interested in the templates for Building a Better Proposal, keep checking back. In the next few weeks we have a big announcement coming.

