The Next Step to Achieving the Outcome You Desire
Just like a painting project takes longer than initially expected, so did the explanation of it. What I thought would be a short post turned into two and now looks to be three. Next week we’ll see if we’re able to accomplish this.
Last week I told you to start with determining the right paint depending on what the rooms use was. Next was picking your colors which is one of the most important things to the outcome. What, in the beginning, would seem to be easy, often turns into one of the most difficult.
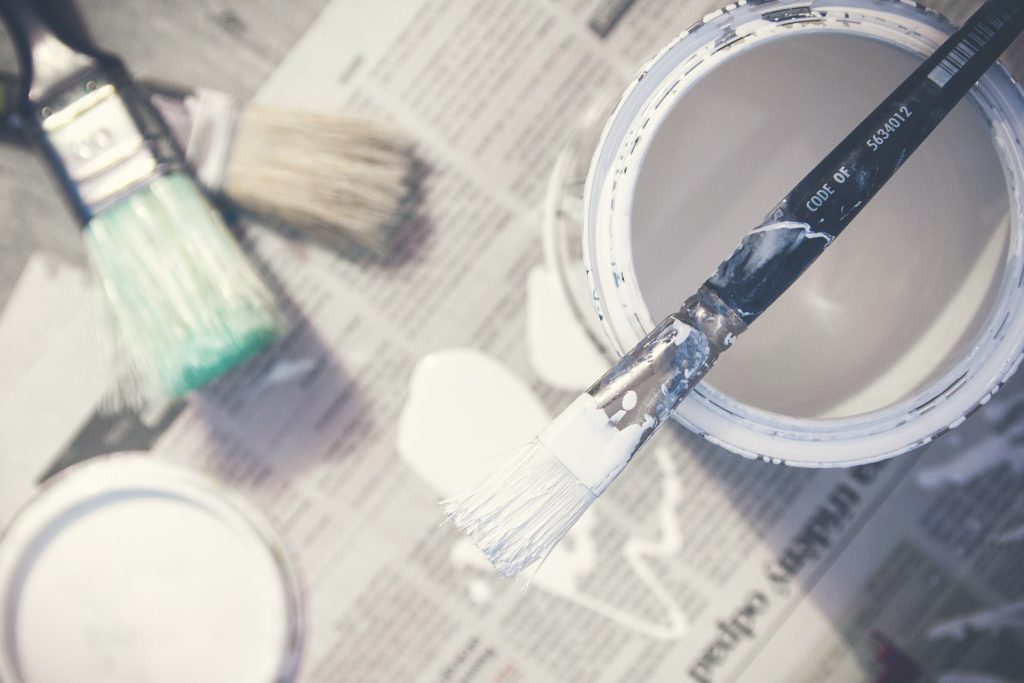
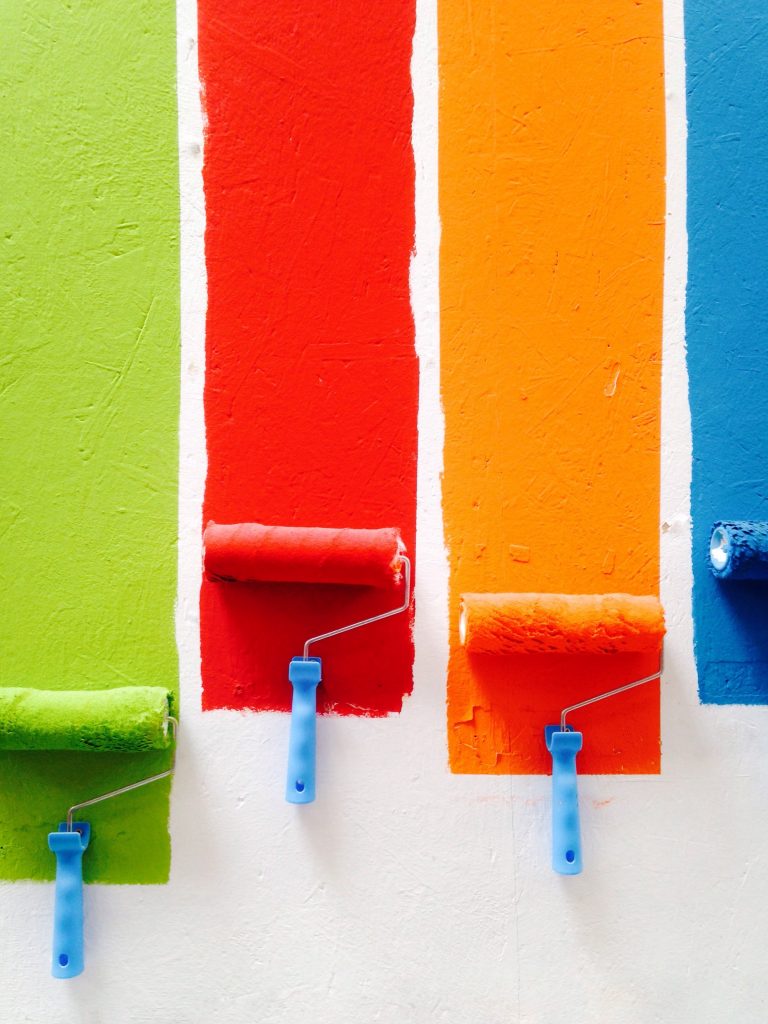
Figuring out what tools you need, is the next step. Painting is like any other project, having the right tools will make the project go smoother, easier and make for a better outcome. Even with basic tools like brushes and rollers there is an amazing amount of variety and options. Then of course there is too many specialty tools to go into.
Brushes:
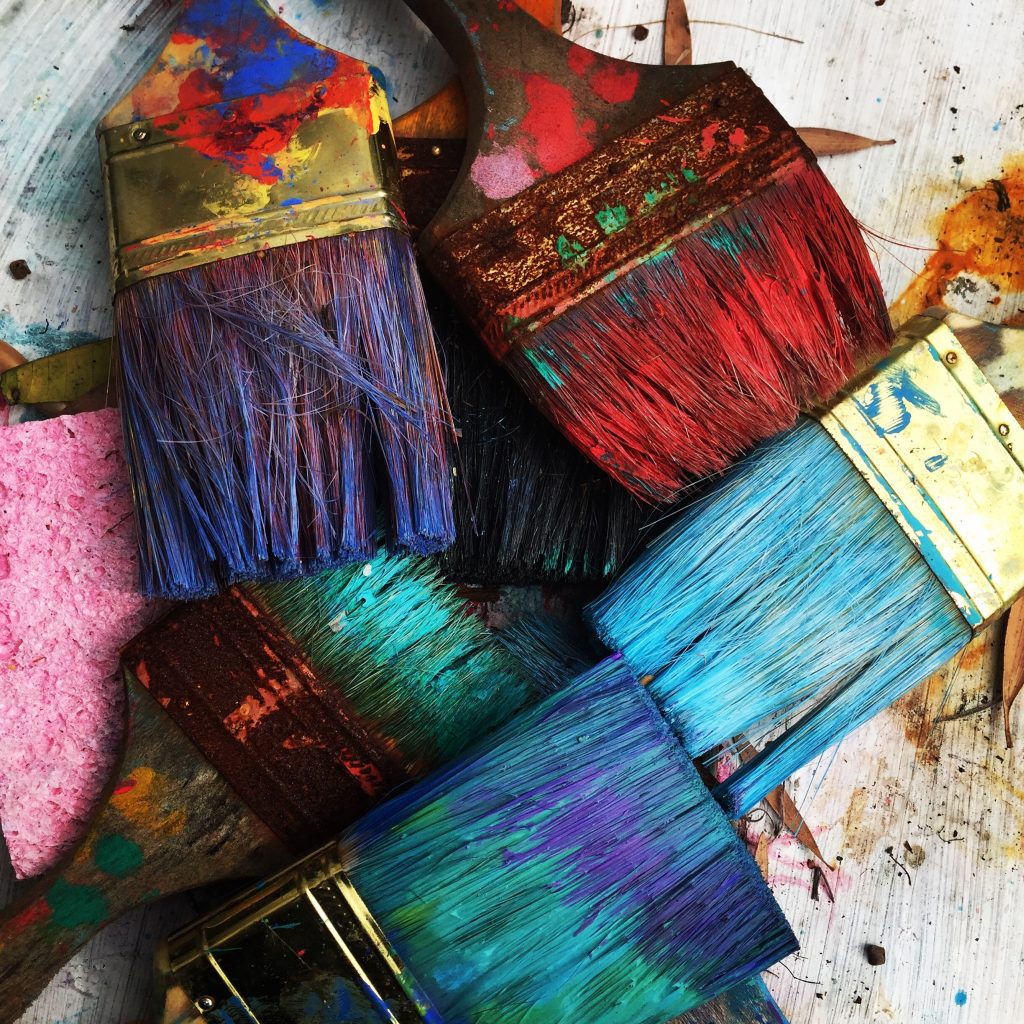
- Natural bristle (sometimes called China bristle) for oil-based finishes. These bristles are made from animal hair. The natural split ends of these bristles hold more paint and allow a nice smooth finish
- Blended nylon/polyester bristle for latex paints. The combination of these bristles provides a durable long-lasting brush. The polyester is great at holding its shape and the nylon holds up well.
- Polyester bristles work well in latex paints but aren’t as durable as the combination bristles. They provide a smoother application of paint than the combination.
- Sizes typically range in width from 1” to 4”. Depending on what you are doing will determine which width provides the best result. Smaller brushes work best for trim and small areas. The bigger brushes provide more coverage on large flat areas.
- Styles or bristle ends also serve different specific purposes. An angled brush works best for cutting in around windows, doors, etc. or in corners. The angled cut gives you more control over the paint line. Flat brushes work best when the goal is to get paint on larger flat surfaces.
Rollers:
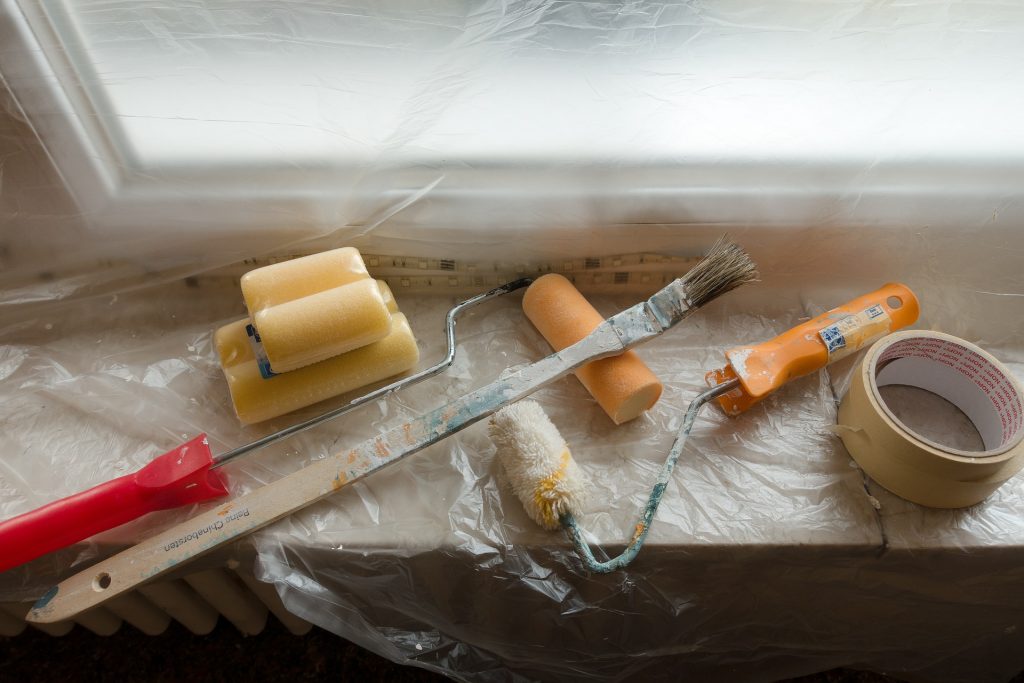
- Fabrics used for roller covers are similar to brushes in that some are natural, and some are synthetic. The synthetic is the most common and is ideal for latex paints. The natural covers are made of mohair or wool. These work best with oil-based paints. Blended covers provide the best of both worlds. They have the product pick up of wool and the longevity of nylon.
- Pile depths of roller covers vary from short (almost smooth) to long (3/4” -1”). The short nap is for smooth surfaces. The rougher the surface the longer the nap needed.
Misc. tools and sundries:
- Drop cloths or plastic for covering finished floors or furniture that will remain in the room.
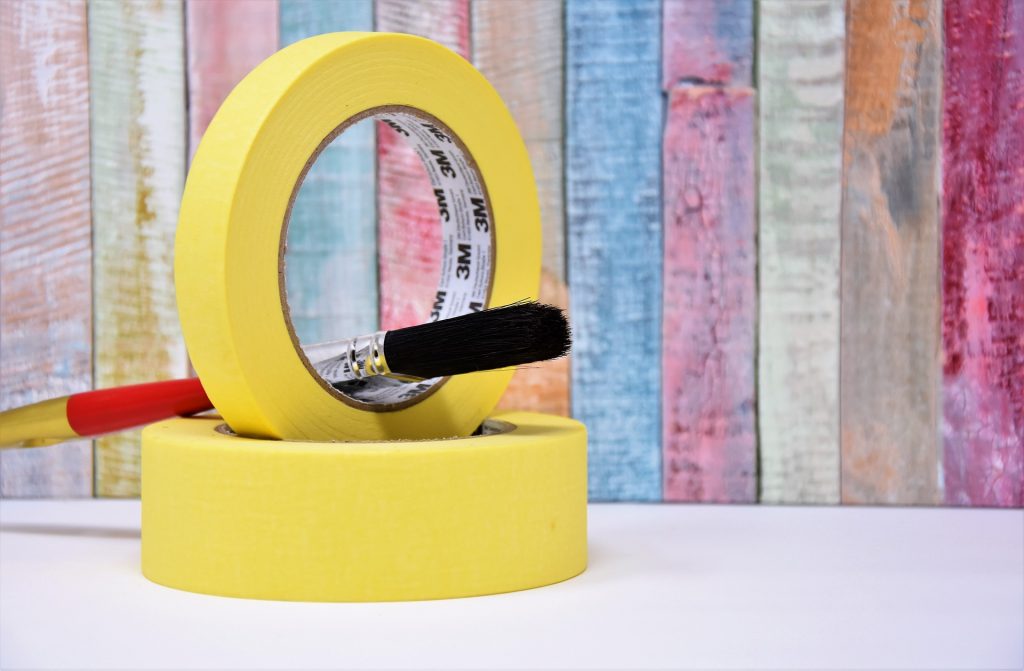
- Tape and plastic or painter paper for covering windows, doors, floor perimeters, trim, electric fixtures, hardware, etc. Most of us are aware of the blue painters masking tape. It was designed to be used on painted surfaces and not pull the paint loose when it was removed. Now there is green (multi-surface) and yellow (delicate) tape as well.
- Caulking, spackling, drywall mud for filling cracks, nail holes and repairing damaged areas. Caulking works best when filling joints and cracks where two different materials come together, for example wood trim and drywall. It allows for expansion when the two things expand and contract at different rates. Spackling is light weight and faster drying than sheetrock mud and works great for filling nail holes and small repairs. Drywall compound dries slower and depending on the size of repair will most likely shrink and need multiple coats but is more durable than spackling.
- Ladders, stools and planks are needed to cut in the corner where the ceiling and wall meet, the tops of windows and doors or ceiling fixtures. Once the cut in is complete then everything in a typical room can be reached with a roller pole. Some rooms with high vaulted ceiling may require scaffolding.
- Roller handles, poles, pans, liners and screens are all parts of the paint rolling process. Many times, people don’t distinguish the difference of these things. The roller handle is what the roller cover slides onto. The pole is what the handle screws onto and often is adjustable in length. The pan is what paint is poured into for the roller to pick up the paint from. There are pan liners that fit in the pans which can make the clean up process easier. There are also screens of different sizes that fit into different sized buckets. You can then dip the roller directly into the bucket of paint and remove the need for a pan.
Now we’ve determined the right paint, picked the colors we want and figured out what tools we need. After all of that, it’s time to get started painting.
Next week we will discuss the process of preparing the room and putting some paint on the walls.
If you have any questions or thoughts about what we’ve discussed so far, just send them to us in the comment section below.