Building A Dream Life
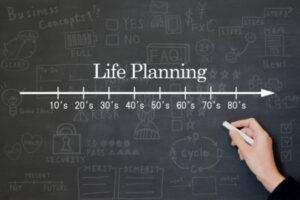
A Plan for Building Your Best Life
This Starts with Setting Goals We’re coming to the end of another year already. It’s amazing how fast they go by. There are so many
This Starts with Setting Goals We’re coming to the end of another year already. It’s amazing how fast they go by. There are so many
Being Aware of This Is Important I got a text this morning regarding a little thing that caused some big changes. Our township’s old road

Find the Balance of Planning and Doing I’m an overthinker. I can spend a lot of time thinking through things before taking action. This isn’t

It Helps Cut Down on the Dizzy Last week we discussed how being too busy is often self-inflicted, and how we usually have more control

Chasing Your Tail Can Make You Dizzy The past several weeks have been crazy busy as we’ve been pushing to meet a project deadline. Getting

This is Especially True for Saving Money Over the last couple of weeks, we have discussed why it’s critical to save money to keep your

There’s a Tool for That Last week we discussed the importance of saving money— both individually and in business— and the high percentage of people
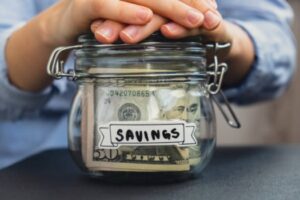
A “Rainy-Day Fund” Can Help Keep You Afloat Recently, I’ve had a couple of conversations about business finances and how, when done poorly, they can

It Comes Down to How You Think The words home and house are almost always used interchangeably. Their definitions are, in fact, nearly identical. For

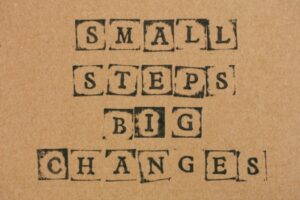
Achieving Goals Doesn’t Happen by Chance It’s already October, which means we’re already three-quarters of the way through 2025. This weekend, I’ll be reviewing my